Introduction
Setting up shared folders on a local network can significantly enhance productivity and collaboration among users. Whether you are working on a small home network or a larger business setup, shared folders allow multiple users to access, modify, and share files effortlessly. In this article, we will walk you through the step-by-step process of establishing shared folders on your local network.
Understanding Shared Folders
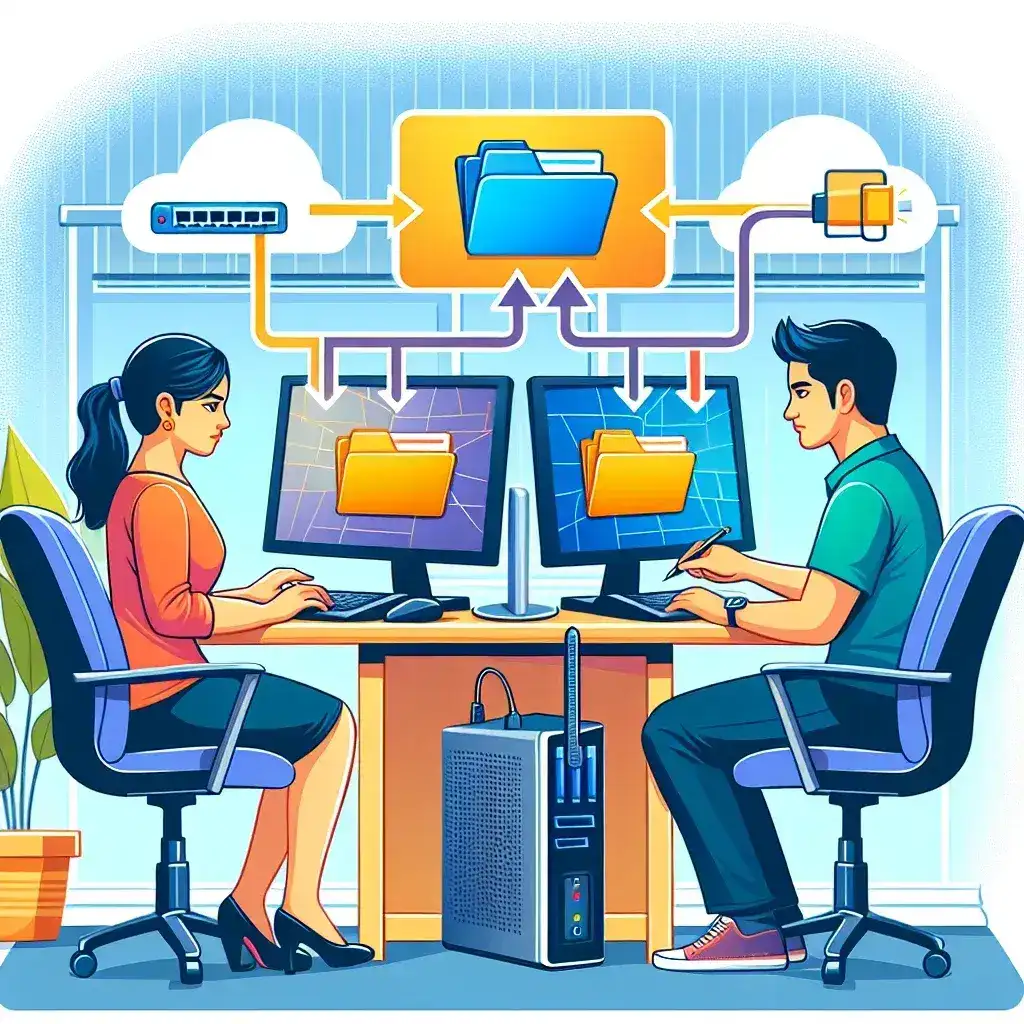
Shared folders are directories that are accessible by multiple users on a network. They enable users to share documents, images, and other file types without needing to transfer files individually. This setup can be especially useful in office environments where teamwork is essential.
Benefits of Shared Folders
- Collaboration: Team members can work on the same documents in real-time.
- Centralized Storage: Files are stored in a single location, making it easier to find and manage them.
- Access Control: You can set permissions to control who can view or edit files.
- Efficiency: Reduces the need for physical data transfer, saving time and resources.
Requirements for Setting Up Shared Folders
Before you set up shared folders, ensure that you have the following requirements in place:
- A local area network (LAN) established.
- Computers or devices connected to the same network.
- Administrative access to the device where the shared folder will reside.
Step-by-Step Guide to Create Shared Folders
1. Choose the Folder to Share
Begin by selecting the folder you want to share. This can be an existing folder or one that you create specifically for sharing purposes.
2. Access Folder Properties
Right-click on the folder you wish to share and select Properties from the context menu.
3. Navigate to Sharing Tab
In the Properties window, click on the Sharing tab. Here, you will find options to share the folder.
4. Share the Folder
Click on the Share… button. A new window will appear, allowing you to choose the people you want to share the folder with.
5. Select Users
From the drop-down menu, select users or groups. You can add specific users by typing their usernames or selecting from the list. Adjust the permissions as needed. You can choose Read or Read/Write permissions.
6. Confirm Sharing
Once you have selected the users and set the permissions, click on Share. The system will then create the shared folder, and you will receive a confirmation message.
7. Access the Shared Folder
Users can now access the shared folder from their devices. To do this, they can open File Explorer and navigate to Network, where they will see the shared folder listed under the corresponding computer or device name.
Troubleshooting Common Issues
Sometimes, issues may arise during the setup or access of shared folders. Here are some common problems and their solutions:
1. Cannot Access Shared Folder
Ensure that all devices are connected to the same network and that the firewall settings allow file sharing.
2. Permission Denied Message
Check if the user has been granted the correct permissions to access the shared folder. You may need to revisit the sharing settings.
3. Network Discovery Off
Ensure that network discovery is enabled on the device where the shared folder is located. Go to Network and Sharing Center and enable network discovery.
Security Considerations
When sharing folders on a local network, it is vital to consider security:
- Use strong passwords for user accounts.
- Regularly review shared permissions and remove access for users who no longer need it.
- Keep your operating system and security software updated to protect against vulnerabilities.
Conclusion
Setting up shared folders on a local network is a straightforward process that brings numerous benefits for collaboration and productivity. By following the steps outlined in this guide, you can easily create shared folders that enhance your work or home environment. Remember to regularly audit shared folder permissions and maintain security to safeguard your data.