Changing a typewriter ribbon might seem like a daunting task, especially to those who have never done it before. However, the process is straightforward with the right guidance. In this article, we will walk you through the step-by-step process of changing a typewriter ribbon, ensuring you keep your typewriter in perfect working condition.
Below is a summary of the steps involved in changing a typewriter ribbon:
| Steps | Actions |
|---|---|
| 1. Gather Necessary Tools | Tools include a new ribbon, gloves, and a soft cloth. |
| 2. Remove the Old Ribbon | Carefully remove the existing ribbon from the spools. |
| 3. Install the New Ribbon | Place the new ribbon on the spools and thread it through the type bars. |
| 4. Test the Installation | Type a few characters to ensure proper functioning. |
Step 1: Gather Necessary Tools
Before you start, make sure you have all the necessary tools. This includes:
- A new typewriter ribbon compatible with your typewriter model.
- A pair of gloves to keep your hands clean.
- A soft cloth for any ink stains or residue.
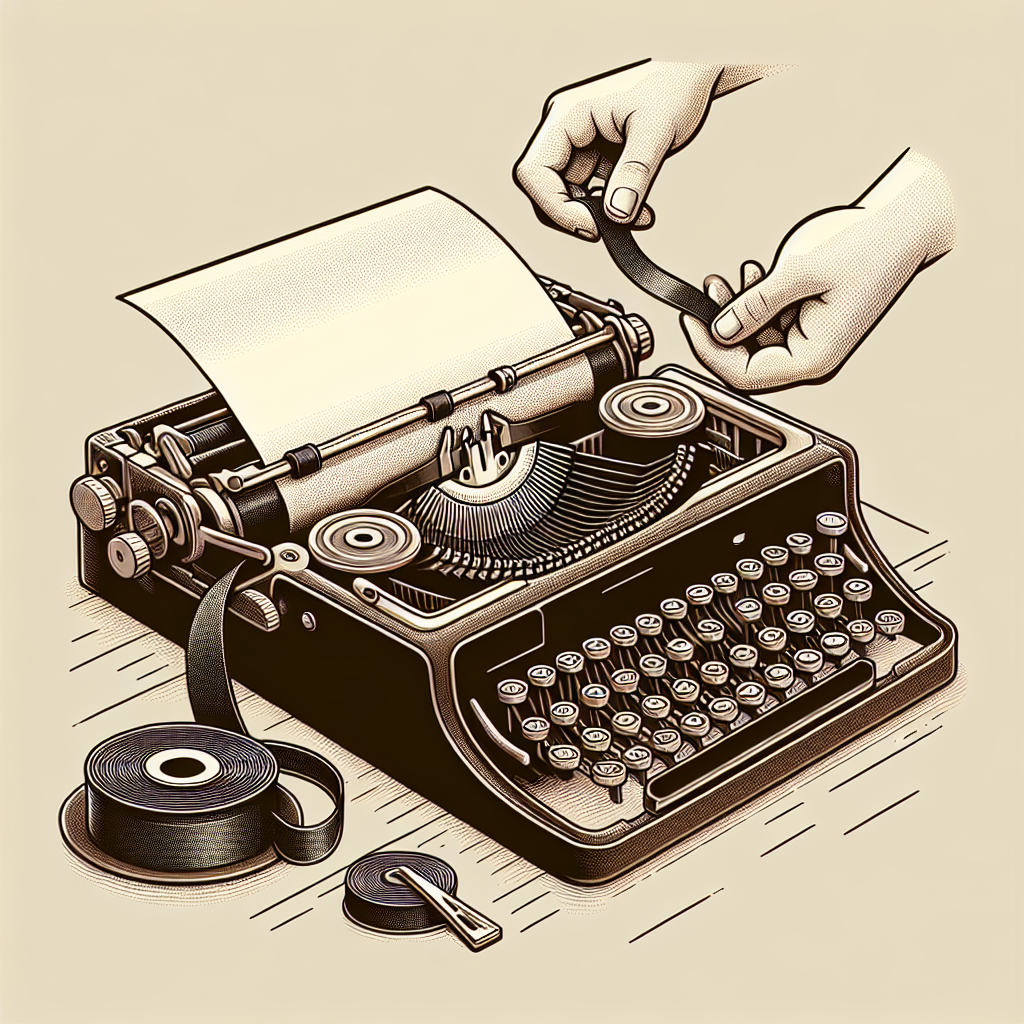
Step 2: Remove the Old Ribbon
Removing the old ribbon is a crucial step that requires some care. Follow these instructions:
- Turn off the typewriter: If it’s an electric typewriter, make sure it is turned off and unplugged to avoid any accidents.
- Open the cover: Lift the typewriter cover to access the ribbon spools.
- Remove the spools: Gently pull the ribbon spools out of their holders. Carefully unwind the ribbon from the type bars.
Step 3: Install the New Ribbon
Installing the new ribbon requires precision. Here’s how you can do it:
- Place the new spools: First, position the new ribbon spools in place of the old ones.
- Thread the ribbon: Next, thread the ribbon through the type bars and ensure it passes correctly through any guides.
- Secure the ends: Make sure the ends of the ribbon are firmly secured on the spools to prevent it from unwinding.
Step 4: Test the Installation
Finally, you should test your new ribbon installation:
- Close the cover: After ensuring the ribbon is correctly threaded, close the typewriter cover.
- Power on: If it’s an electric typewriter, plug it back in and power it on.
- Type a few characters: Test the typewriter by typing a few characters to ensure the ribbon is advancing properly and that the characters are clear and bold.
Additional Tips
Here are some additional tips to help you with the process:
- Regular Maintenance: Regularly clean your typewriter to prolong its life and ensure consistent performance.
- Proper Storage: Store your typewriter in a dry place to avoid issues caused by moisture.
- Use Quality Ribbons: Always use high-quality ribbons compatible with your specific typewriter model for the best results.
By following these steps and tips, you can quickly and efficiently change your typewriter ribbon, ensuring your machine remains in peak condition for years to come.